 2137 views
 The GSTR-4A vs Purchase Reconciliation process involves comparing the purchase details recorded in your books with the auto-drafted GSTR-4A statement, which includes inward supplies reported by your suppliers in their GSTR-1, GSTR-5, or GSTR-7.
However, since composition taxpayers cannot claim ITC, this comparison is only for verification and accuracy, not for credit claims.
Here are the steps for performing a GSTR-4A vs Purchase reconciliation.
How to Access the GSTR-4A Vs Purchase Reconciliation Feature:
- Select “GSTR-4A v Purchase” by clicking on the Reports and then the Purchase option on the My Clients page.

Begin the reconciliation process:
- On the reconciliation page, you will see two sections named GSTR-4A and Purchase Data.
- Select the Return period range from the top right month and year section fields.
- After selecting the return period, click on the Reload icon button to view the selected range for reconciliation.
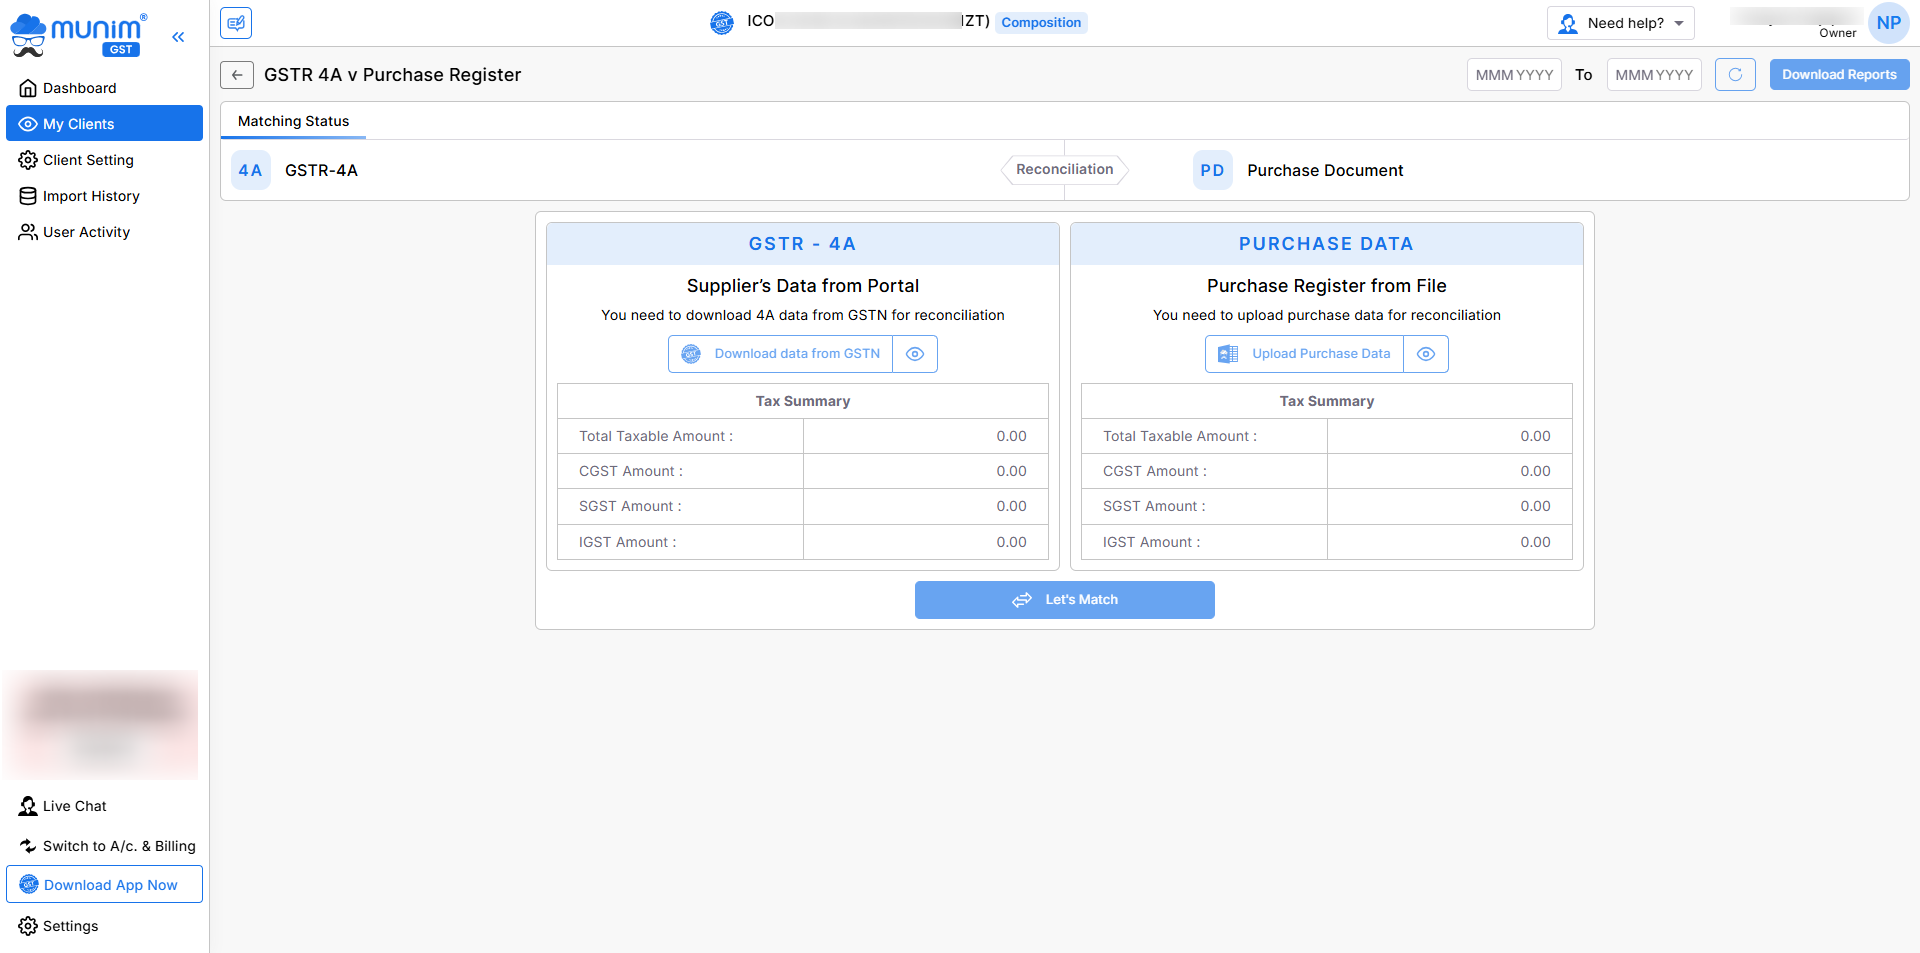
Download GSTR-4A data from the portal:
- In the GSTR-4A section, click the Download Data from GSTN option to fetch the data of suppliers from the GST portal.
- Need to enter the correct GSTN credentials to fetch data of GSTR-4A from the portal.
Upload Purchase Data:
- In the Purchase Data section, you have to upload your Purchase Register data through an Excel file.
- Click the Upload Purchase Data button to upload your Purchase Data Excel file through the Government Excel format.
Continue to Data Overview:
- Once all data is prepared, you can click on the Let’s Match button to set an acceptable Difference value by adding a mismatch value.
- Once set, you can click on the Continue to Overview option available in the pop-up to check the Matching summary page.
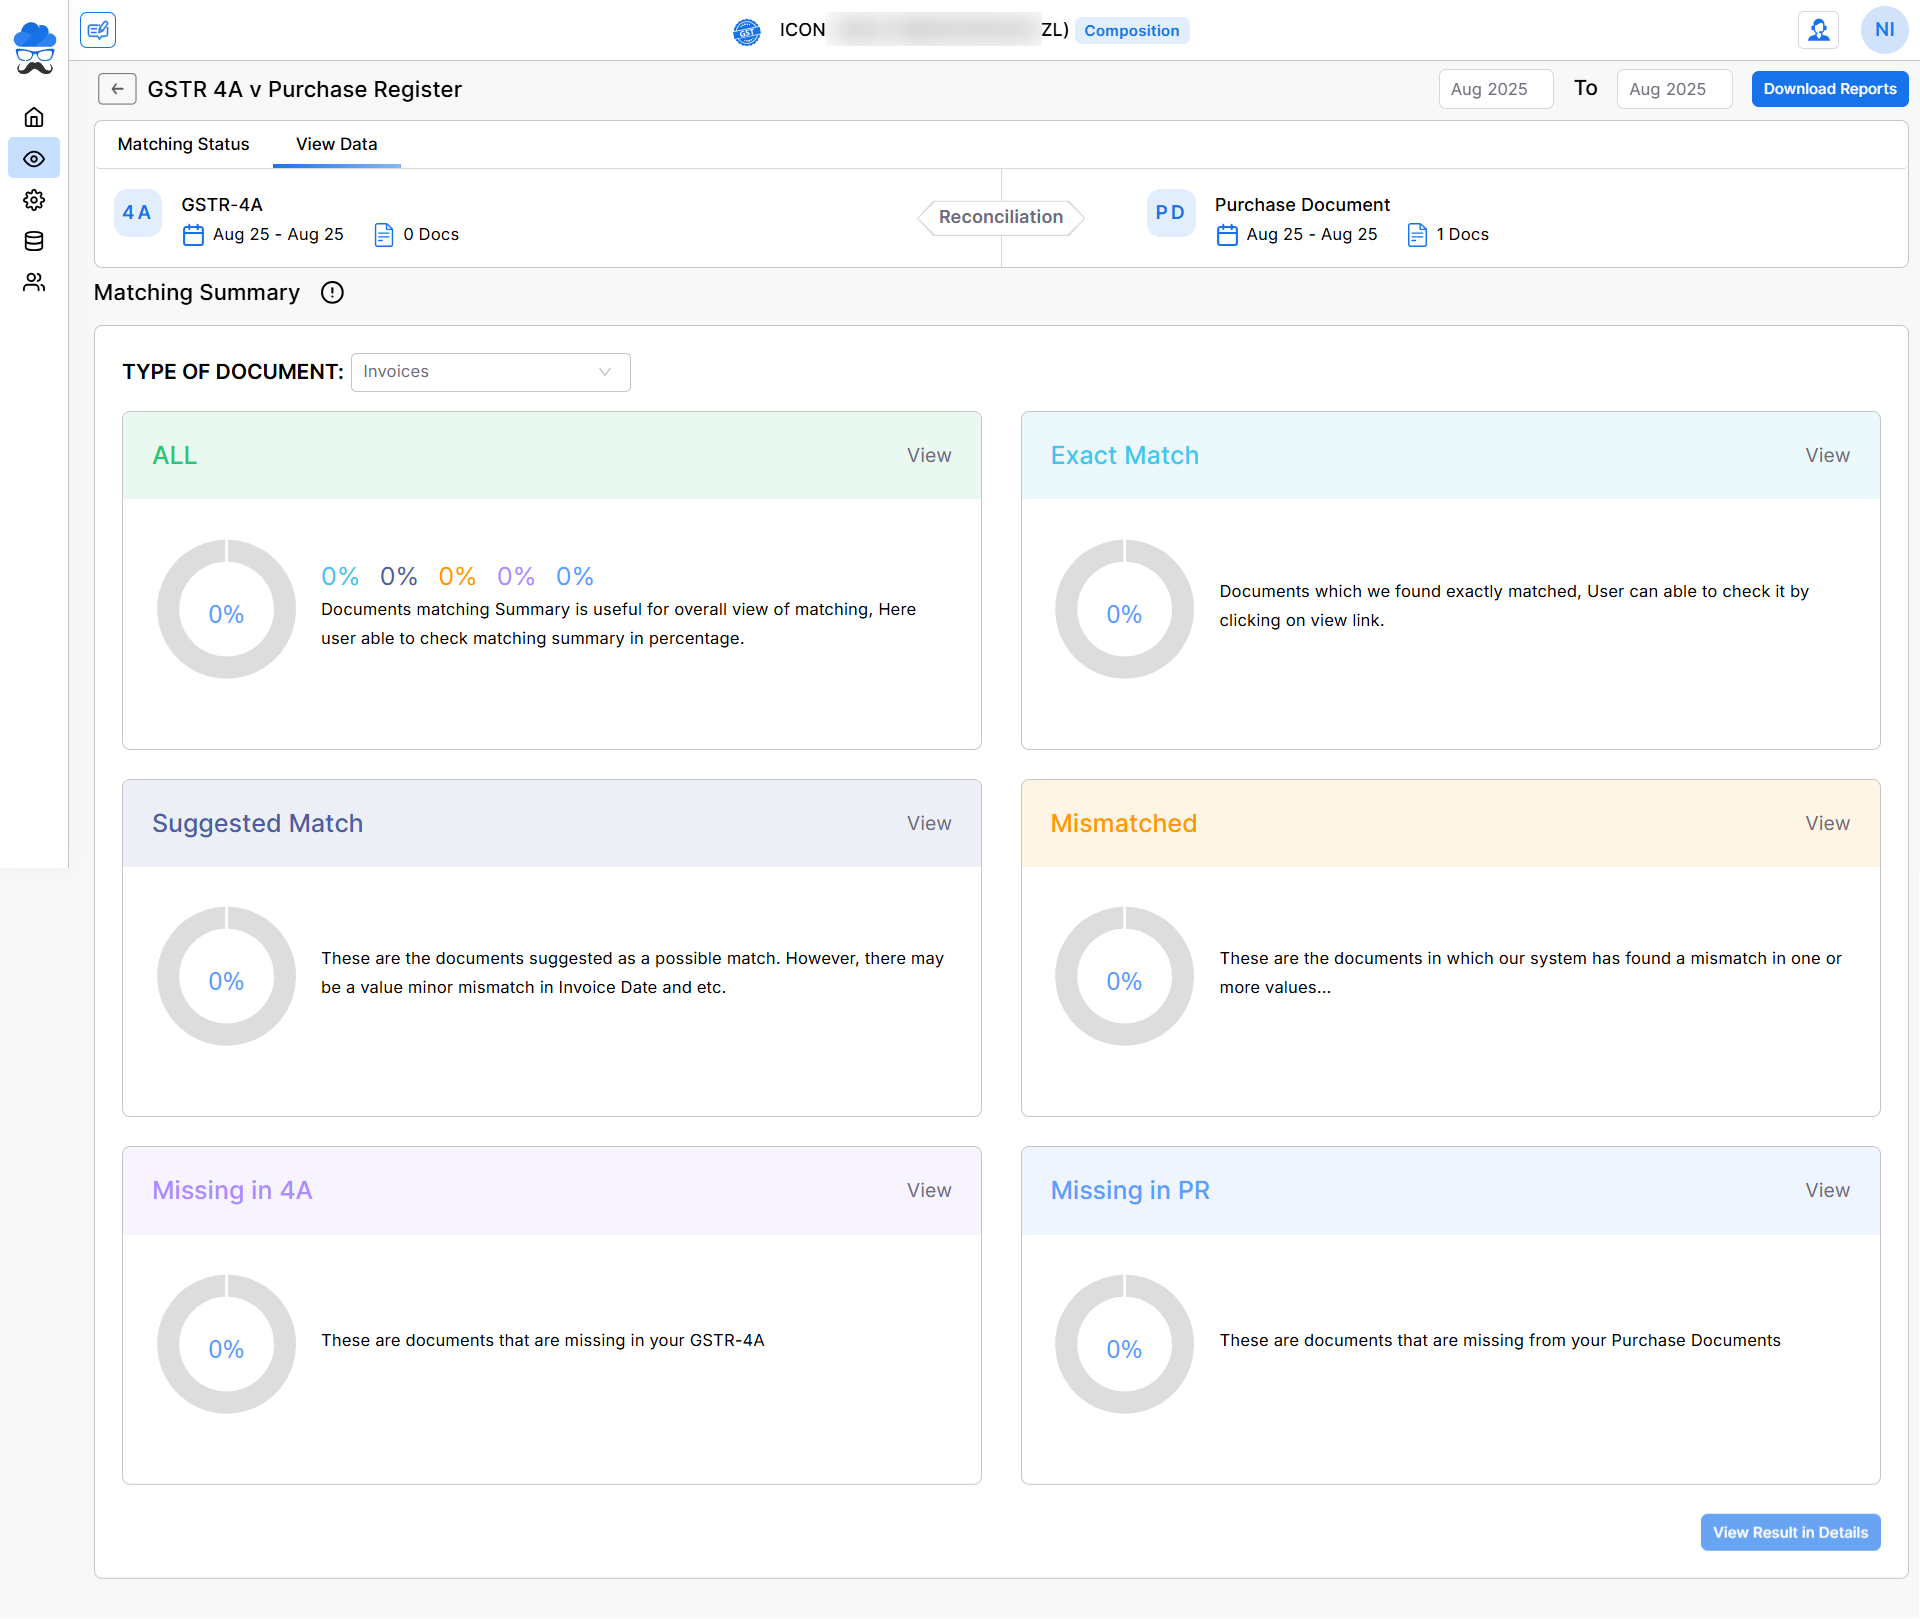
Matching Summary page:
- Here on the Matching summary page, you can select Type of Document from the top left dropdown menu.
- Here you will see data filter boxes named All, Exact Match, Suggested Match, Mismatched, Missing in 2B, and Missing in PR.
- You can click the View Result in Details button at the end to see the detailed version of the data.
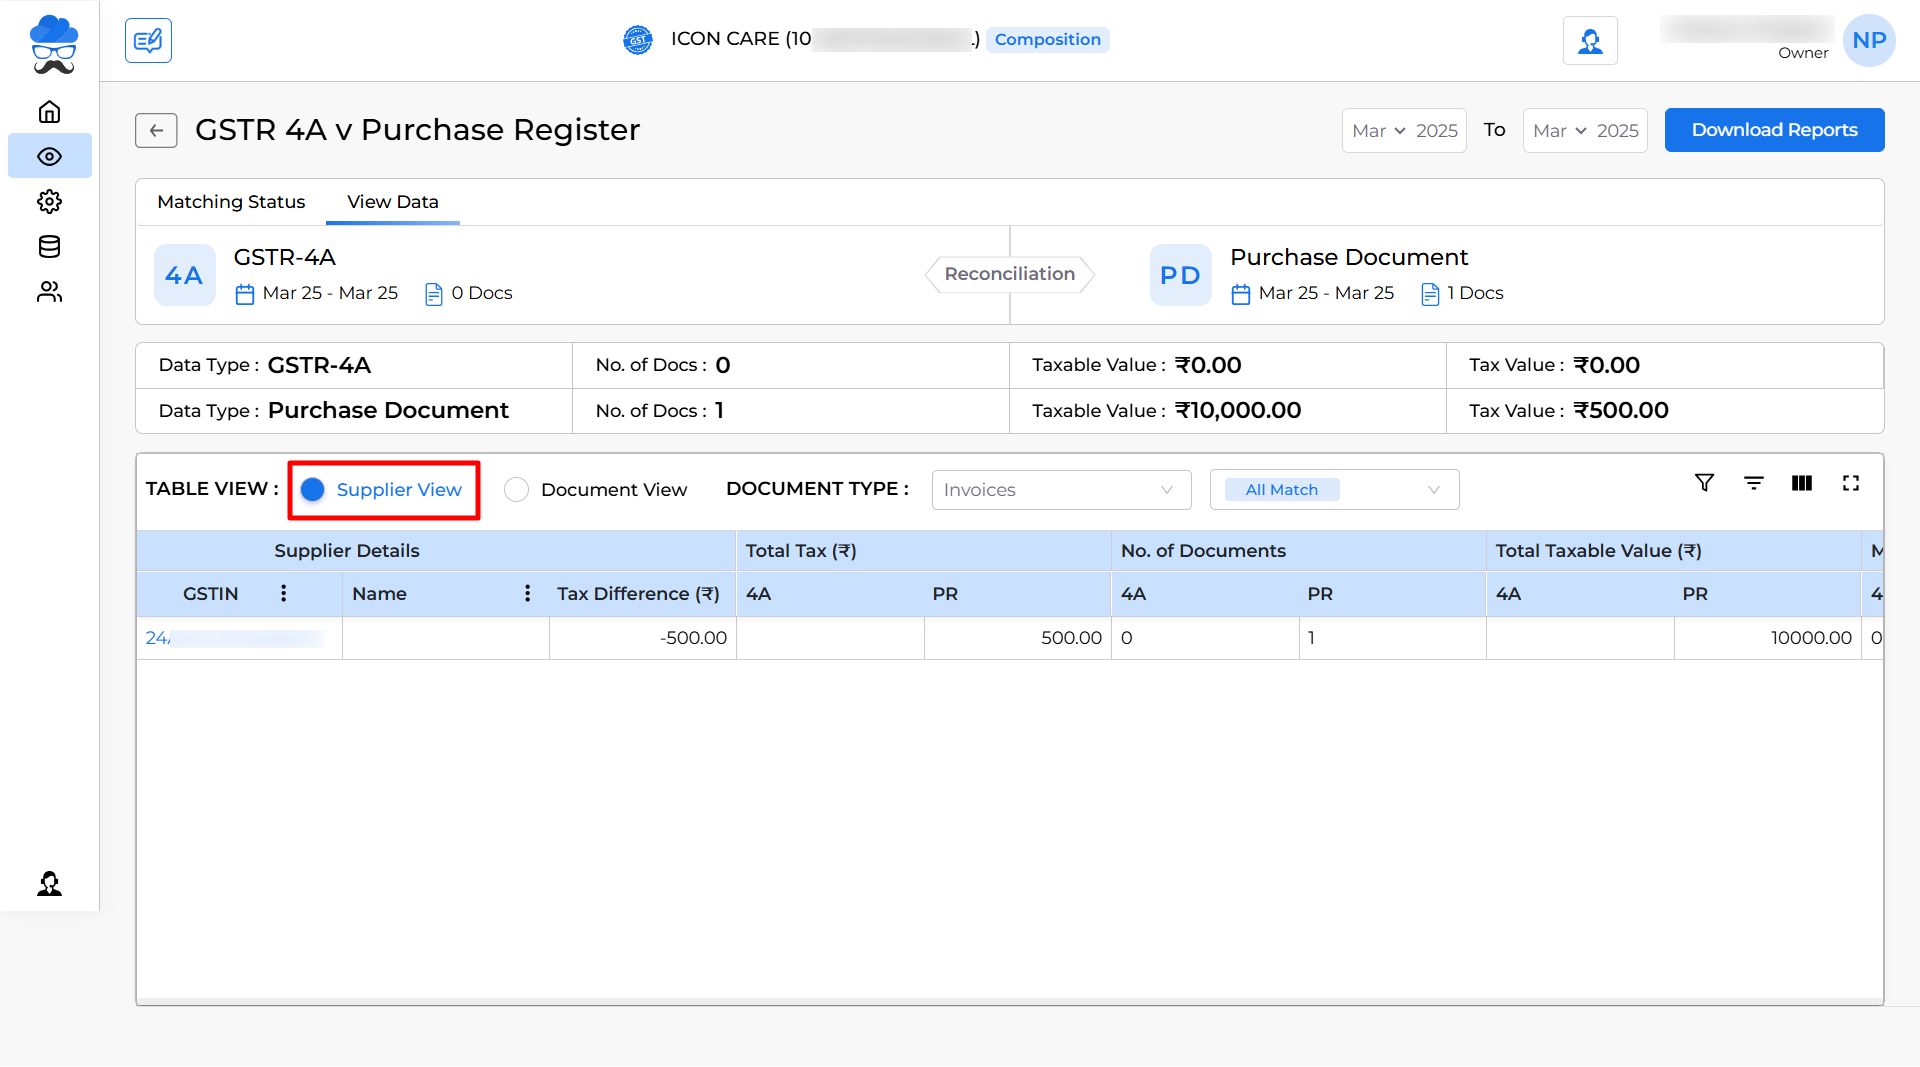
View Result in Details page:
- Here you can select Table view as Supplier View or Document view.
- Let’s check Supplier View first.
- In this view, you will get data using the supplier name list.
- Also, you can change the Document type and Summary type for filtering purposes.
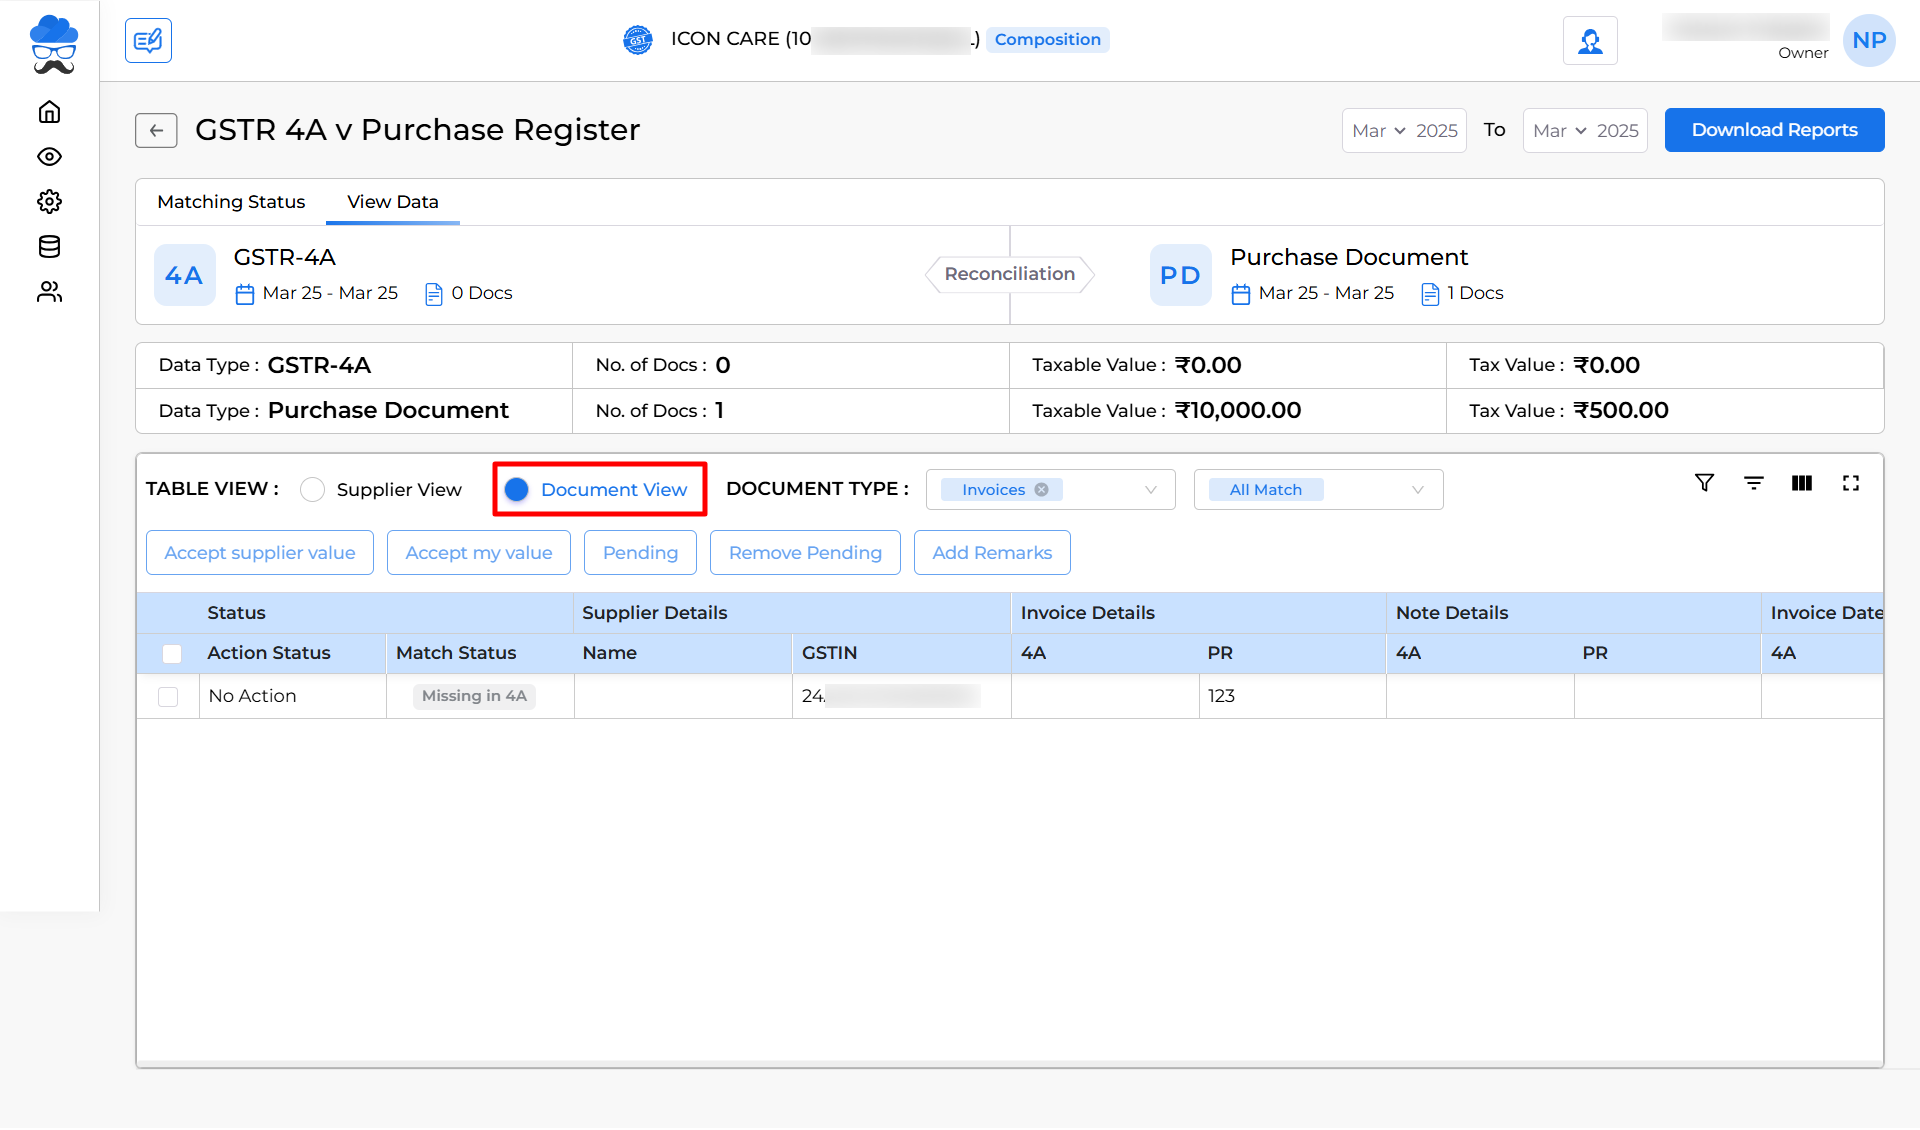
- Let’s check Document View now.
- In this view, you will get data by using the Document number list.
- Also, you can select the Document type and Summary type for filtering purposes.
- Here you can change the status of a particular Document by selecting any available options:
- Accept supplier value: This status means we have accepted the value from the Supplier.
- Accept my value: This status means we have accepted our value rather than Supplier.
- Pending: This status means this Document is pending to be filed by the Supplier.
- Remove Pending: This option is used to remove a Document from pending status once a supplier has filed it.
- Add Remark: You can add any remark in a particular Document for future reference.
- You can also download this report by clicking the Download Reports option located at the top right corner.
- In the Download Report button, you have the option to select whether you would like the report in its default format or with the applied filters.
- Also, you can select multiple months from the month selection field at the top right side to see multiple or annual data at once.
Need Assistance?
If you have any questions or need further assistance, please contact our support team. We’re here to help!


