 3067 views
 GSTR-9 is the annual return for GST-registered businesses, summarizing outward and inward supplies, input tax credit (ITC), and taxes paid during the financial year. The following steps guide you through the filing process in Munim.
GSTR-9 is mandatory only for regular taxpayers whose annual aggregate turnover exceeds ₹2 crore. Taxpayers with turnover up to ₹2 crore are exempted, though they may file voluntarily.
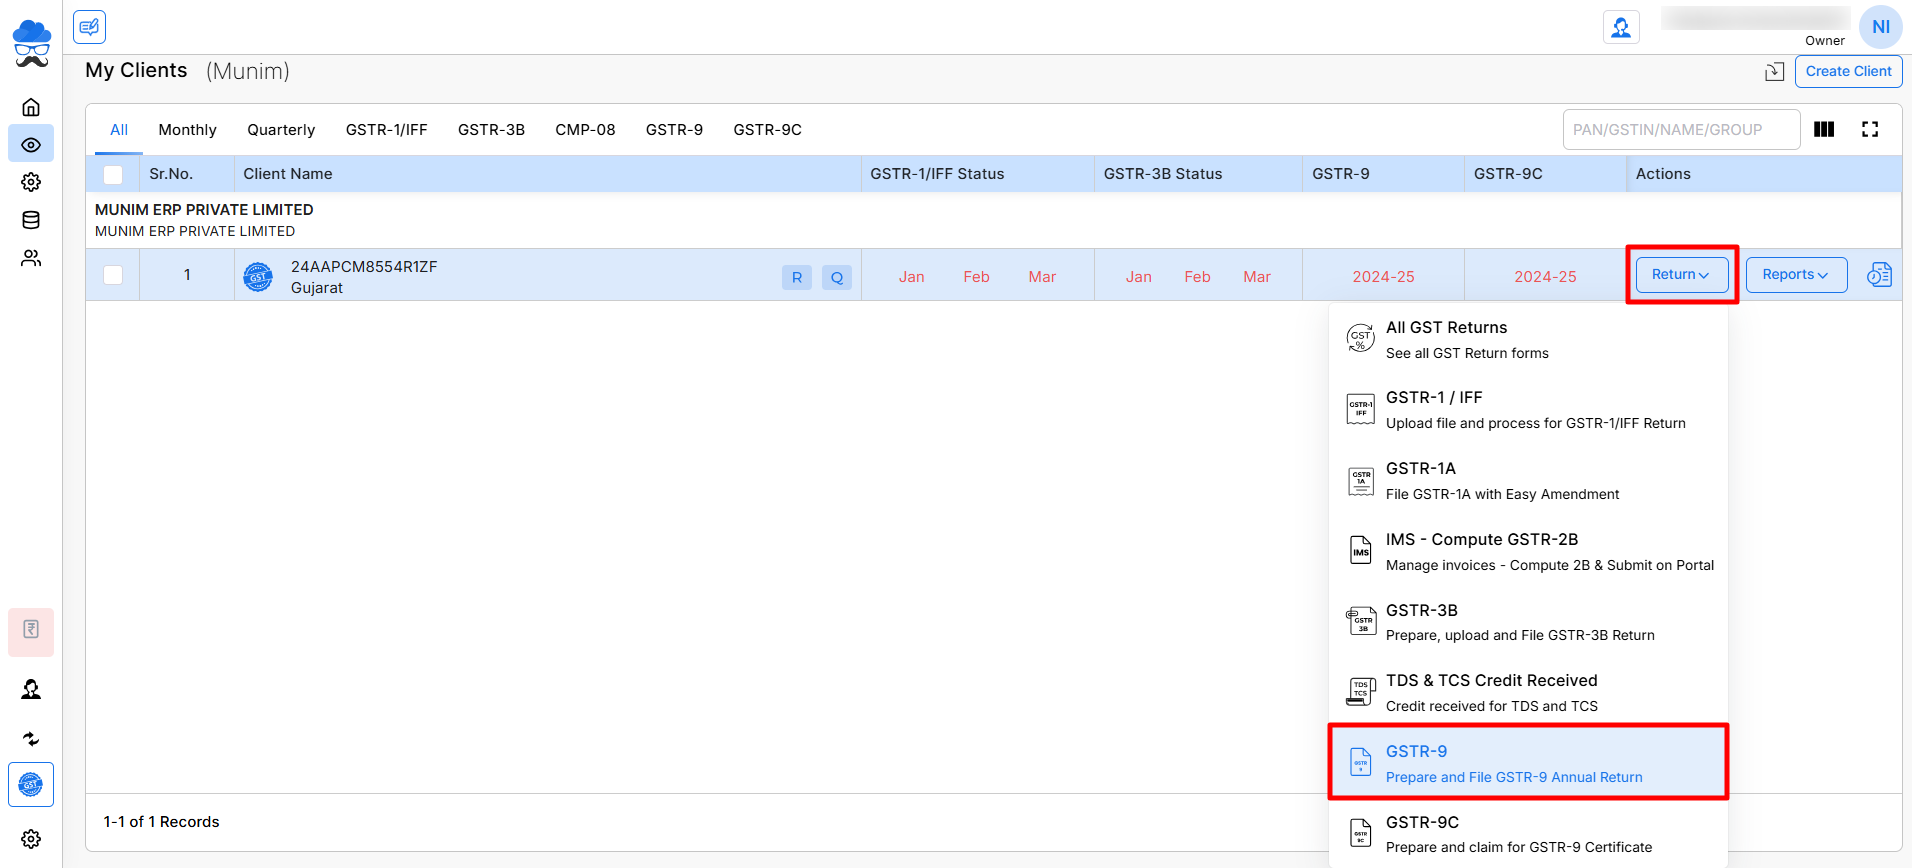
GSTR-9 option:
- First, go to the My Clients page and select the GSTR-9 option from the Return button of the client company.
Data Fetch From Portal:
- Import Data from the GST Portal
- Once you are on the GSTR-9 page, click the “Import From GST Portal” button on the top right side.
- By clicking here, you have to choose from one of the options available:
- Download With OTP: Download data by requesting OTP on the registered number by adding the GST portal Username.
- Download Without OTP: Download data by adding GST portal credentials and captcha; this process depends on the GST portal.
- This fetches your GST data directly from the GST portal for the selected Financial Year.

- Check Imported Data
- Once the data is imported, review the details under the following sections:
- Part-I: Summary of GSTR-9.
- Part-II: Outward & Inward Supplies.
- Part-III: Input Tax Credit (ITC).
- Part-IV: Tax Paid and Declared.
- Part-V: Transactions Reported in the Next Year.
- Part-VI: Other Information.
- Navigate through these tabs available at the top to verify and validate the data fetched by clicking the Save & Next button at the end of the page.
- Once the data is imported, review the details under the following sections:
- Add and Review HSN Summary of Outward and Inward Supplies in Part-VI:
- In the Part-VI section, add HSN Summary of outward supplies data in Table No. 17, such as Outward Supply with GST. Outward Supply without Payment of GST. HSN Summary by clicking the Add/Edit HSN/SAC Details option.
- On this page, you can retrieve this data from the GST portal by selecting the “Fill Data From GSTR-1 Filed” button. You may also upload the data in Excel format using the Import Data button.
- Also, you can add HSN Summary of inward supplies data in Table No. 18, like ITC availed, reversals, and any adjustments. Click on the Add/Edit HSN/SAC Details option to add HSN summary manually.

- Download Report and Validation of Data
- We have provided a Download Report option at the top right corner, where you can download and check the report in Excel format in two variations: Draft G9 Report and System Generated G9 Report.

- You may review the Excel report or share it with others for verification purposes. It comes with a detailed data sections and tabs.

- Validate the taxable amounts, CGST, SGST, IGST, and CESS values in the table to ensure accuracy.
- Make corrections if required before proceeding to the computation.
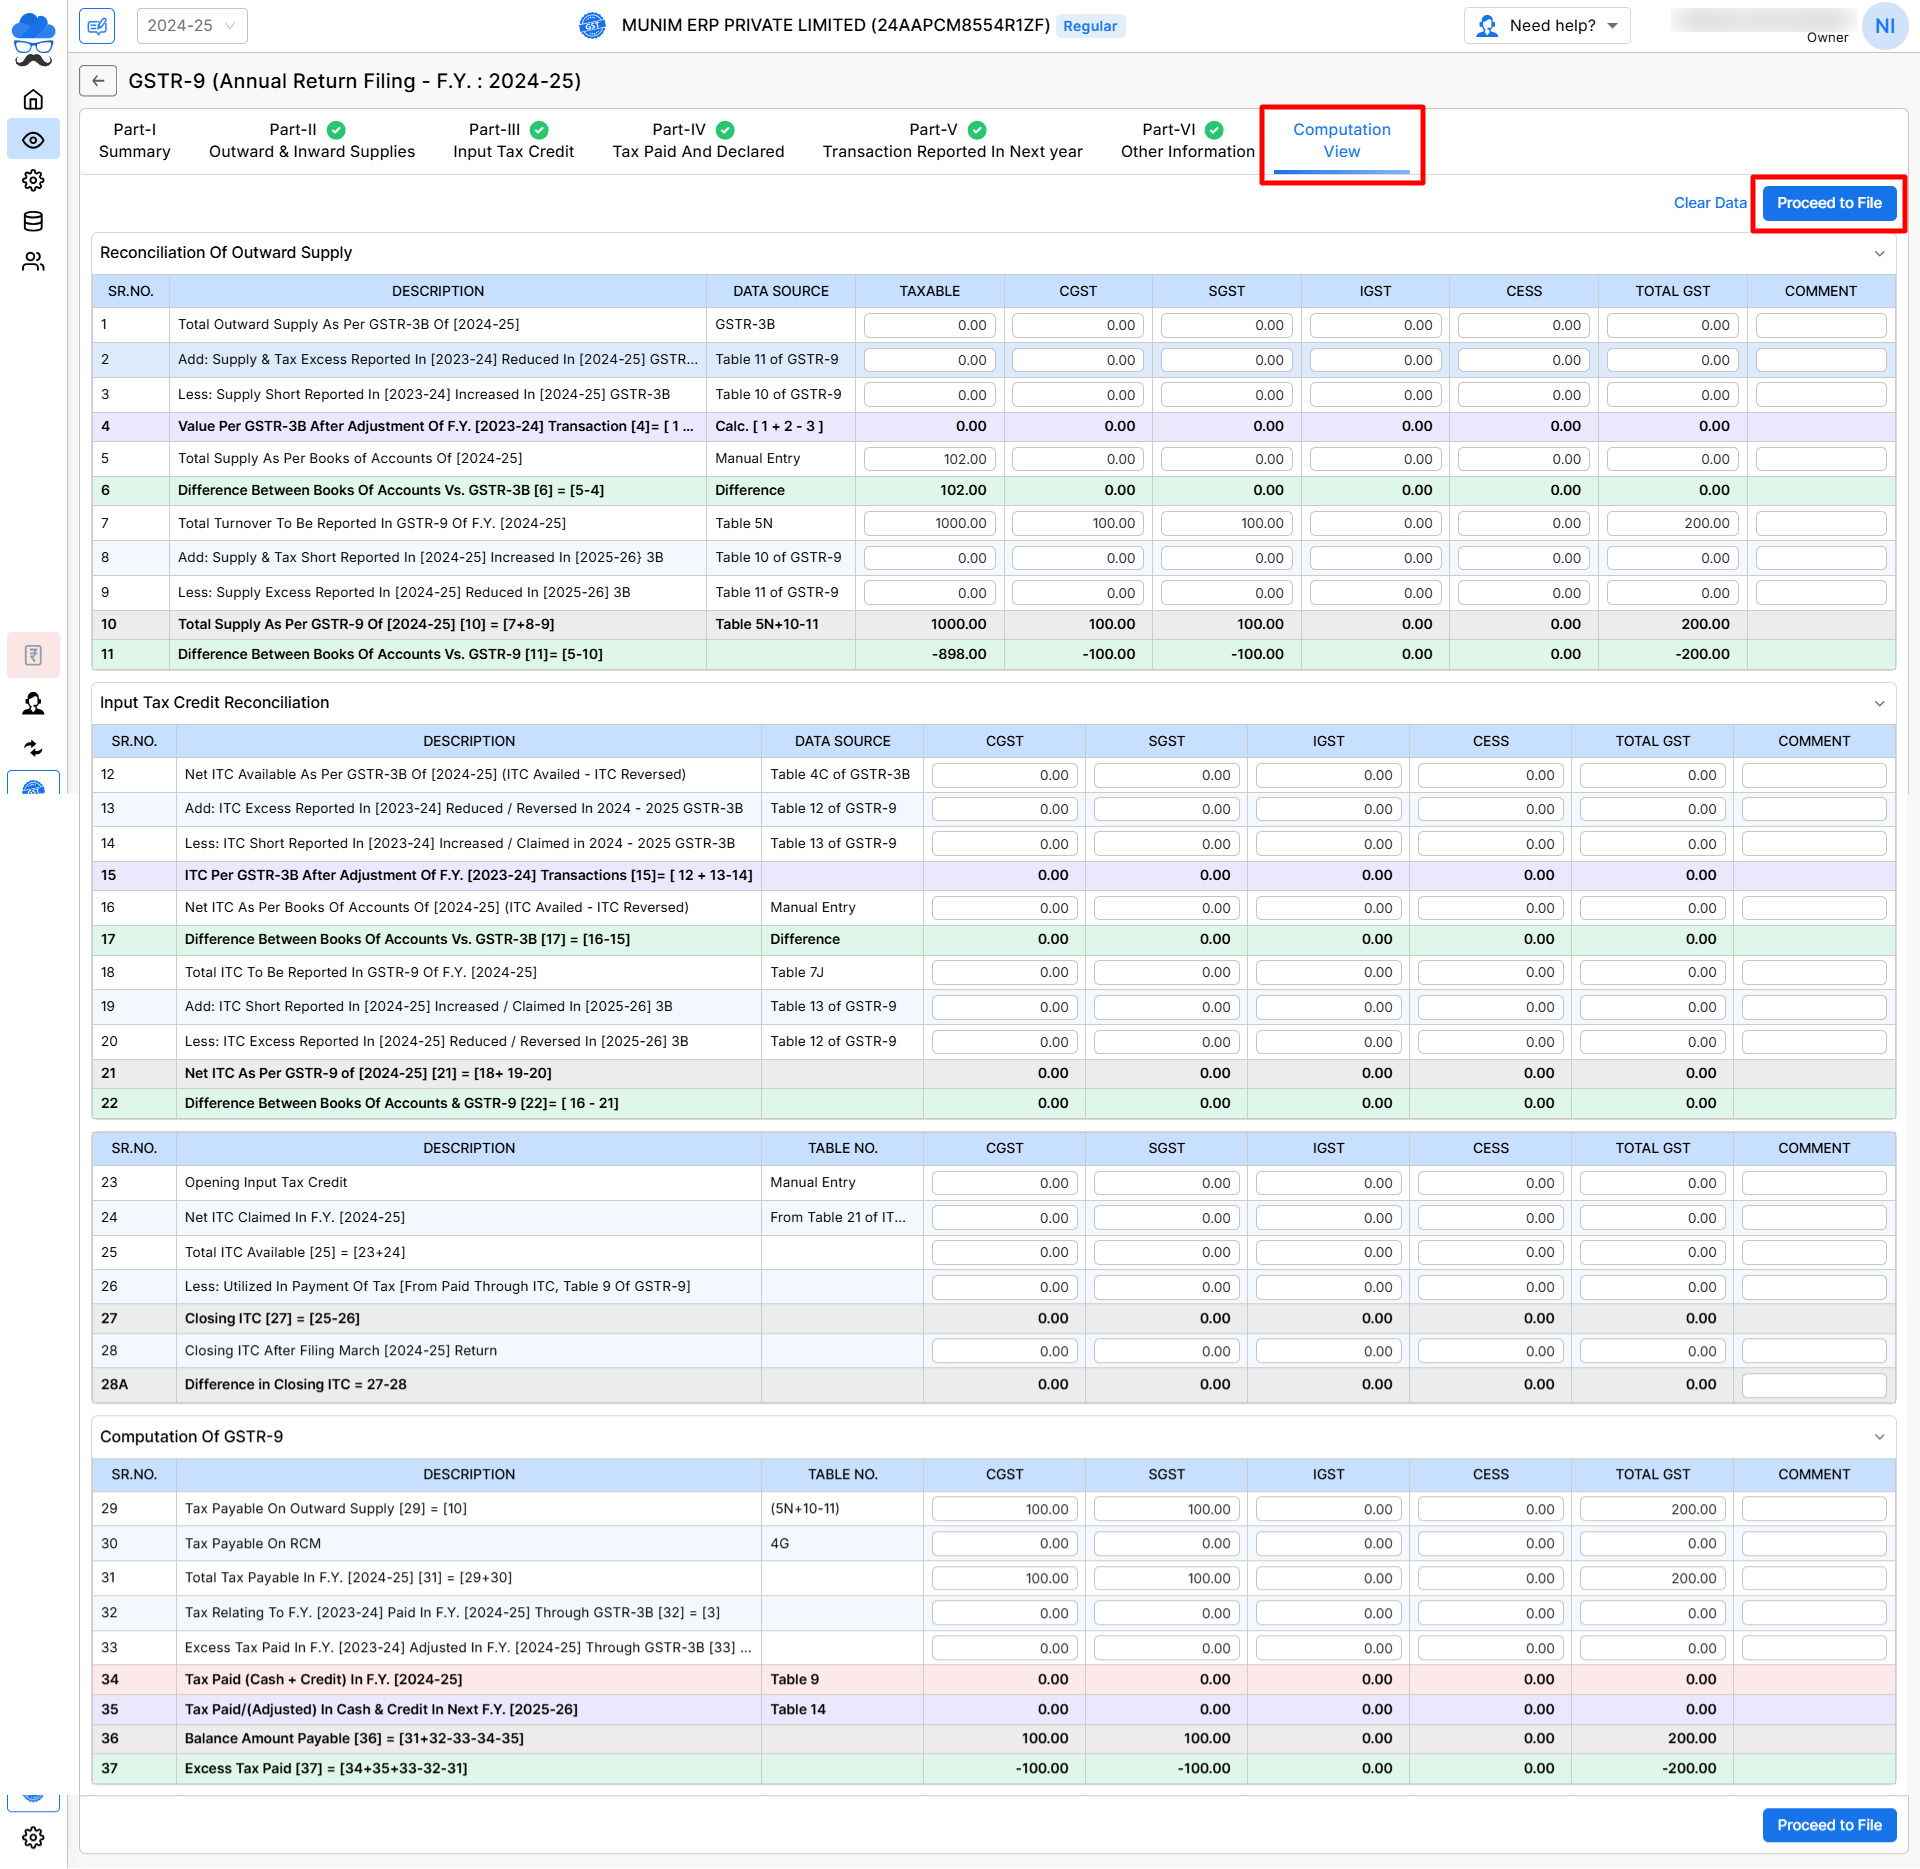
- Computation and View
- Click on the Computation View tab, last in the section tabs, to check a summary of the total tax liability, ITC, and other figures.
- Ensure that the computed values match your internal records. In case of any differences, you can make manual entries to correct them in some tables like 5, 16 and 23.
- Finalise & Export Data
- Once validated, you can finalise the filing return.
- Click the Proceed to File button to go to the Upload Data to GSTN option on the Return submit page.
Return Filing process:
- A warning notification will appear if HSN-related data has not been entered in Table 17 of Part VI.
1. Upload Data to GST Portal
- Begin the upload process, click the “Upload Data to GSTN” button by selecting any option from:
- Download With OTP: Download data by requesting OTP on the registered number by adding the GST portal Username.
- Download Without OTP: Download data by adding GST portal credentials and captcha; this process depends on the GST portal
- This will start to upload all your GSTR-9 data directly to the GST portal for the selected financial year (2023-24).
2. Track Filing Progress
The top section shows a progress indicator with key milestones for smooth tracking:
- Connect to GSTN
- Save Data on GSTN
- Upload Processed Successfully
- Summary Generated
You can preview the summary anytime by clicking on “Preview Govt Summary” to verify your data after successful uploading.
3. View Upload History
- The Upload History table displays the status, requested date, and details of previous uploads.
- If no data has been uploaded yet, the table will display “There are no records to display.”

4. Submit & File GSTR-9 Return
Follow these steps to file your returns:
- Choose Upload Method:
- Upload without OTP
- Upload via OTP
- Enter Mandatory Details:
- GST Portal Username: Enter your registered GST portal username.
- GST Authorised PAN: Select the authorised PAN from the dropdown. If unsure, use the “Get PAN Number from Portal” option to fetch it directly.
- File Returns:
- Click “File with EVC” (Electronic Verification Code) to file using EVC.
- (Coming Soon) “File with DSC” (Digital Signature Certificate) for secure filing via DSC.
- Success message:
- Initiate the submission process and complete the required procedures to finalise the filing process.
- Once you complete the process of filing, you will get a Filing Success page.
If you encounter any issues during the GSTR-9 filing process or need any help, please get in touch with our Support.


