 3505 views
 Overview
Munim allows you to display your company logo on invoice prints, helping create a professional and branded appearance for your business documents.
The uploaded logo will automatically appear on supported invoice print templates.
Why Add a Company Logo?
Adding a company logo helps you:
- Improve invoice branding
- Create a professional business identity
- Increase customer trust and recognition
- Generate visually appealing invoices
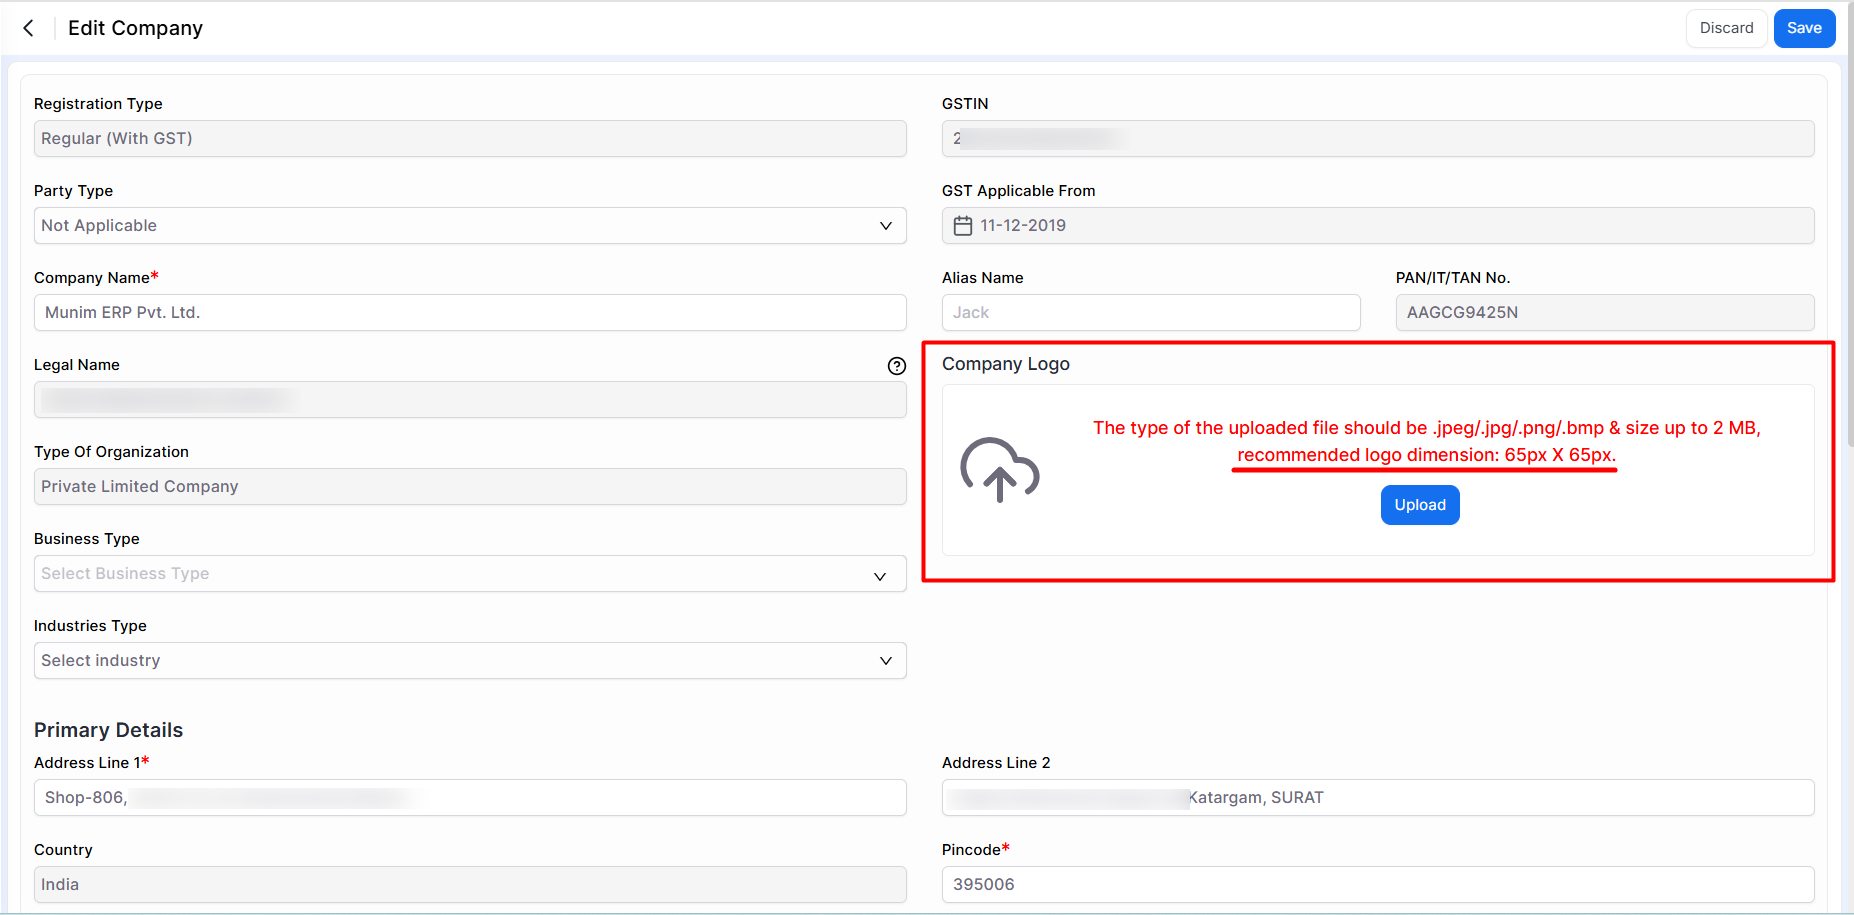
Add a Company Logo
Step 1: Open Company Settings
- Go to Settings.
- Click on Company.
Step 2: Edit Company Information
- Open the company details page.
- Locate the Company Logo section.
Step 3: Upload the Logo
- Click the Upload button.
- Select the company logo from your device.
- Upload the logo according to the supported requirements.
Supported Formats:
- JPG
- JPEG
- PNG
- BMP
Maximum File Size:
- 2 MB
Recommended Logo Size:
- 65px × 65px
+−⟲
Step 4: Save the Changes
- Verify that the logo has been uploaded successfully.
- Click Save to update the company information.
The uploaded logo will now be available for invoice printing.
How the Logo Appears on Invoice Prints
After saving the company logo:
- The logo is displayed on Sales Invoice print templates.
- The logo appears in the invoice header section.
- Printed invoices maintain a professional and branded appearance.
Important Notes
- Use a high-quality image for better print clarity.
- Keep the logo within the recommended dimensions for optimal display.
- Large images may affect print appearance and alignment.
- Changes will be reflected in invoice prints after saving the company settings.
Result
Your company logo will be displayed on invoice prints, providing a professional and branded look to all customer-facing documents.
Need Assistance?
For any assistance related to company settings or invoice printing, please contact the support team.


